Q&A With DIY Pete
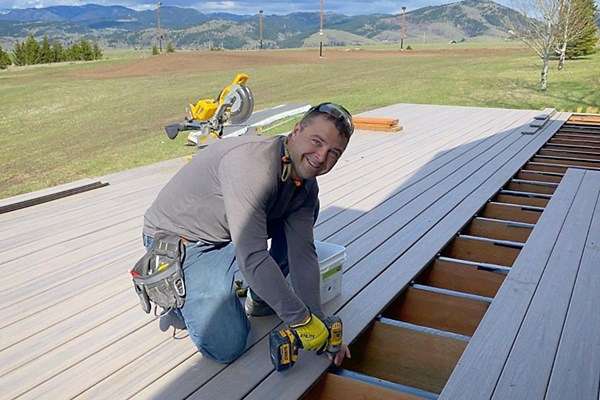
Pete Sveen, creator of the "DIY Pete" blog and YouTube channel, is a "do it yourselfer" based in Bozeman, Mont. He specialises in creating tutorials and how-to blogs designed to empower readers to tackle woodworking projects themselves. We sat down with Pete to discuss his recent deck restoration using Trex outdoor living products.
 1
1
How did you come to choose Trex for your project?
I’ve always loved the look of composite decks and the benefits of having to do little maintenance. I first learnt about Trex from family friends who built a deck at their home. They had good things to say about it, so I figured I’d give it a try.
Did you have any hesitations or concerns about choosing Trex? If so, what?
I’ve heard some folks who had some of the (early-generation) Trex material over 15 years ago have decking that unfortunately failed. However, Trex has come a long way and improved their decking dramatically over the years. All three decks that I’ve built within the last eight years are still looking fantastic, and we are very happy with our choice. My other concern was having a deck that looks wavy because of the more flexible composite material. I found that proper joist spacing and level joists will ensure you have a nice flat deck.
Which Trex decking collection did you use? Why did you choose that particular collection (colour, grain pattern, price, etc.)?
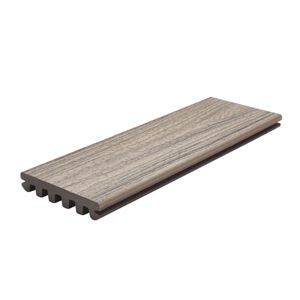
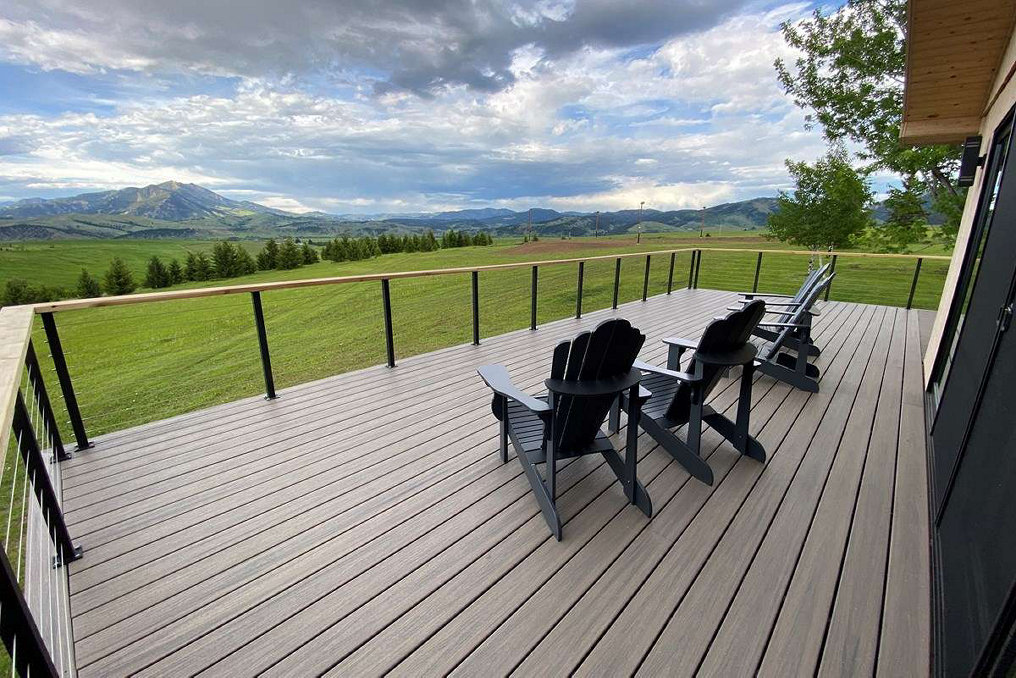
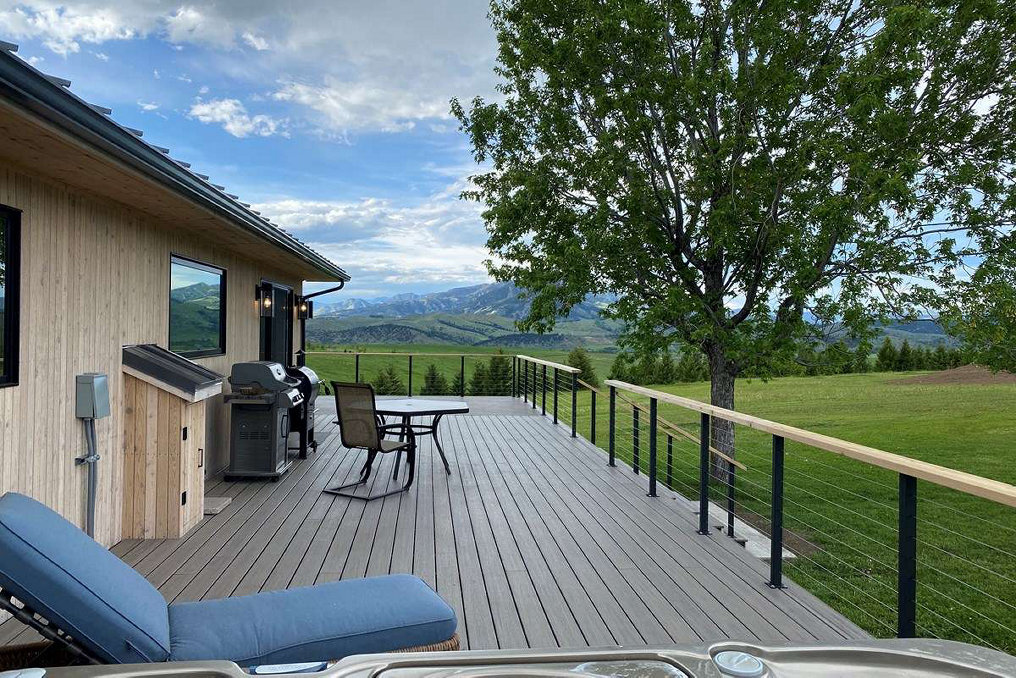
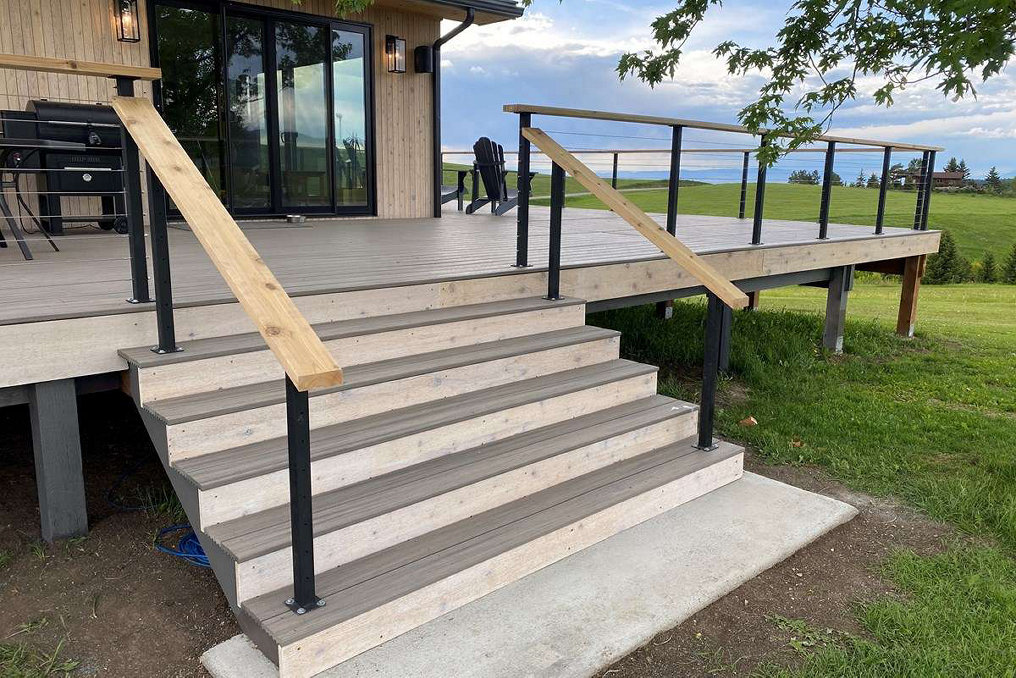
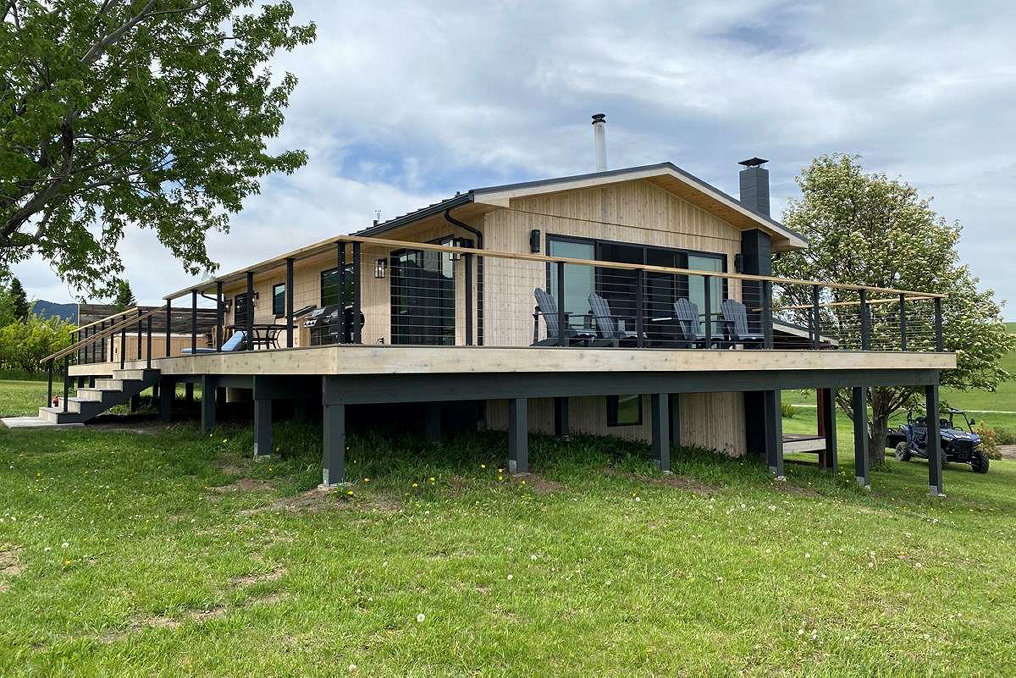
I used Trex Enhance® Naturals in Rocky Harbor. I was looking for a taupe tone to go along with our contemporary home in the mountains. The grey looks sleek and ties in with our siding, yet still has a very natural look. Overall, the Enhance line is very durable and at a good price point.
Did you use any of the Trex online resources or tools during your design or building process? If so, which ones and what was your experience?
I looked at the Trex.com photo galleries and project examples to come up with ideas and colours I liked. After seeing the picture-framed look, I decided to do the picture frame around the entire perimeter of the deck. I referenced the Trex Installation Guide to ensure proper gapping between boards and used its recommended joist spacing to ensure the deck turned out nicely.
Describe your experience building with Trex materials? Did you find the installation process easy or challenging?
I’d recommend researching the Trex website to help plan your deck and pick out materials. In addition, I’d talk to other deck owners with both wood and composite decks to learn more about the benefits and downsides of each. After my research, I decided the low maintenance and sleek aesthetic were well worth the investment in time and money. Check out my YouTube channel for additional ideas and deck installation tips.
What would you say are the greatest benefits of building with Trex?
The greatest benefit is the low maintenance. We are able to simply sweep or rinse the deck off with a hose when it gets mud, dirt, leaves, and other debris on it. With Trex, we never need to stain or sand it. So once it is built, the only maintenance we typically do is clean it.
How do you use your Trex deck?
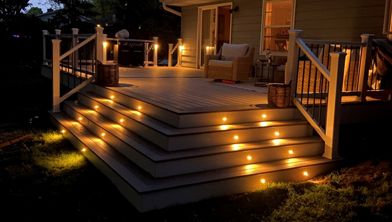
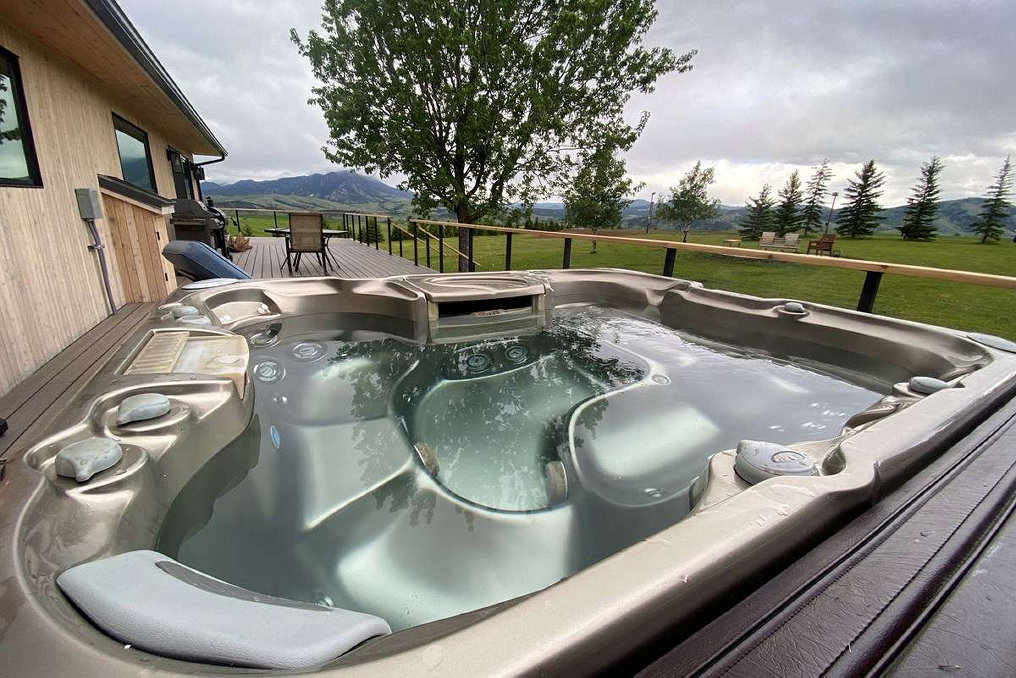
We use our Trex deck to entertain friends and family. We host barbecues, sit around the fireplace, enjoy a glass of wine, sip on morning coffee, relax in the hot tub, and catch sun rays while sitting on the lounge chairs. The deck has literally become a new addition to our home that we spend so much time on during the warmer months of the year.
What is your favourite aspect or feature of your Trex deck?
We absolutely love how little maintenance we need to do on the deck. We use a hose to simply rinse off leaves, dirt, and debris. We even bath our black lab on the deck and then rinse off the hair with the hose. Our Trex deck always looks sleek and we don’t have to worry about staining it every few years!
Any tips or advice for other homeowners that may be considering using Trex for their outdoor living spaces?
Laying down the Trex boards was straightforward and rewarding. It is time-consuming, but if you have a helper, the process will go at least twice as fast. The Trex® Hidden Fasteners work well to secure each board and maintain the proper spacing. The biggest thing to pay attention to is the gap spacing at the end of the boards since you’ll want to space the board ends closer to each other on a hot day, and a little farther apart on a cold day so there will be room for expansion and contraction. Installing Trex wasn’t any harder than screwing on wood boards, and I really like how you don’t see screw holes with the hidden fasteners.
