Build Your Own Deck
Roll Up Your Sleeves
Trex® engineered composite decking to be as simple to install as it is to care for. And to make it even easier, we've compiled all the resources you need to build a DIY deck.
DIY Checklist
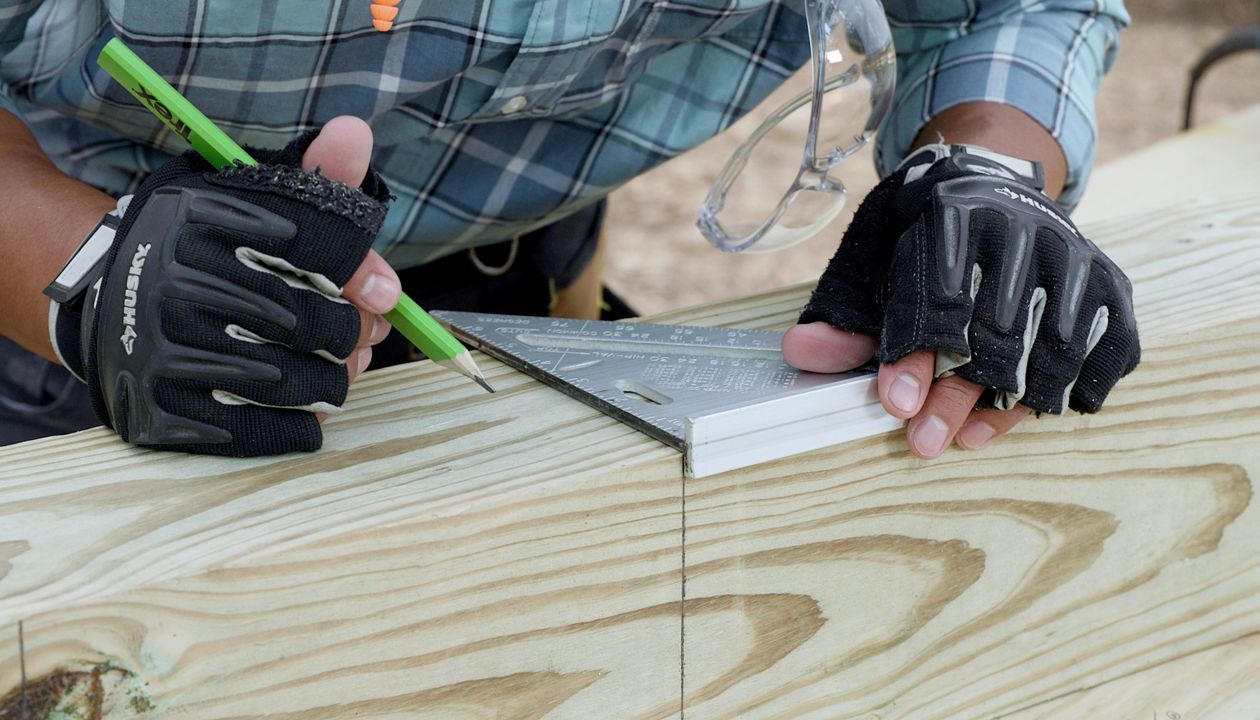
Building your dream deck starts with prepping: scoping your backyard, planning furniture placement, and gathering tools.
Plan My Build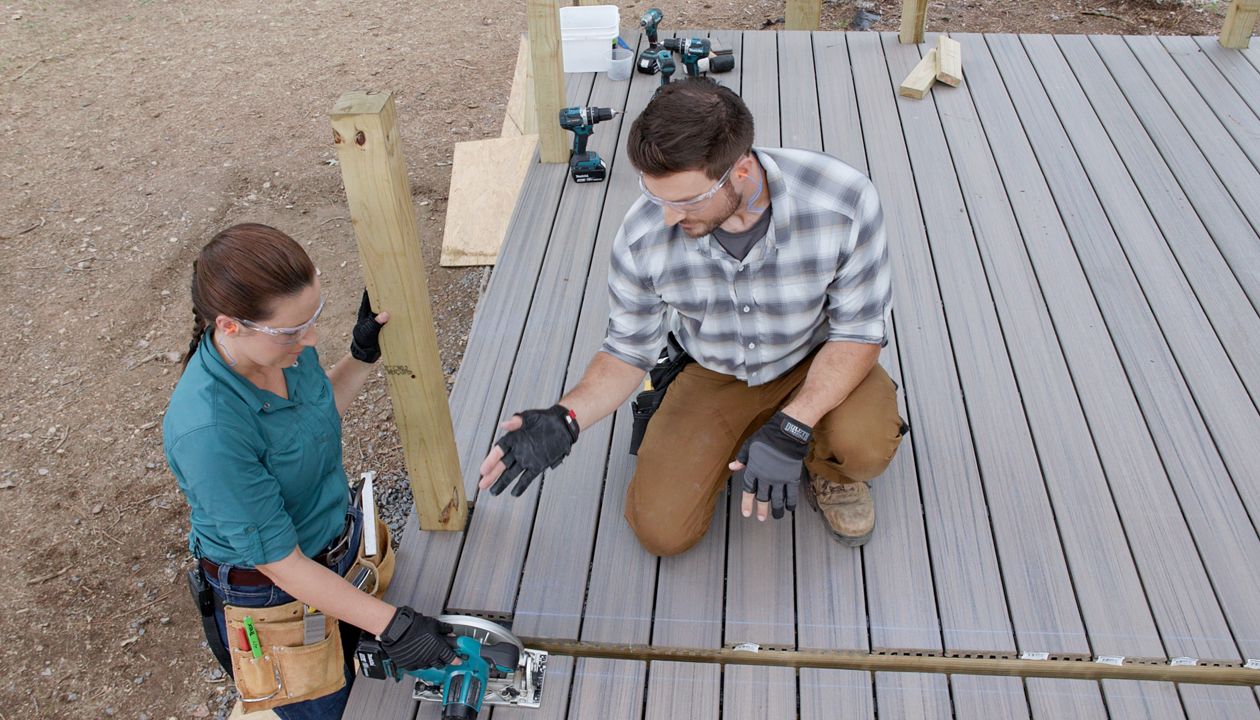
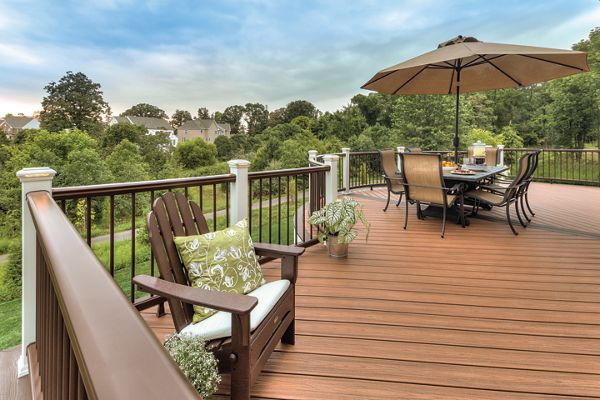
Install Your First Trex Deck
Take your deck from start to finish from pouring your foundation all the way to securing your railing.
Get Started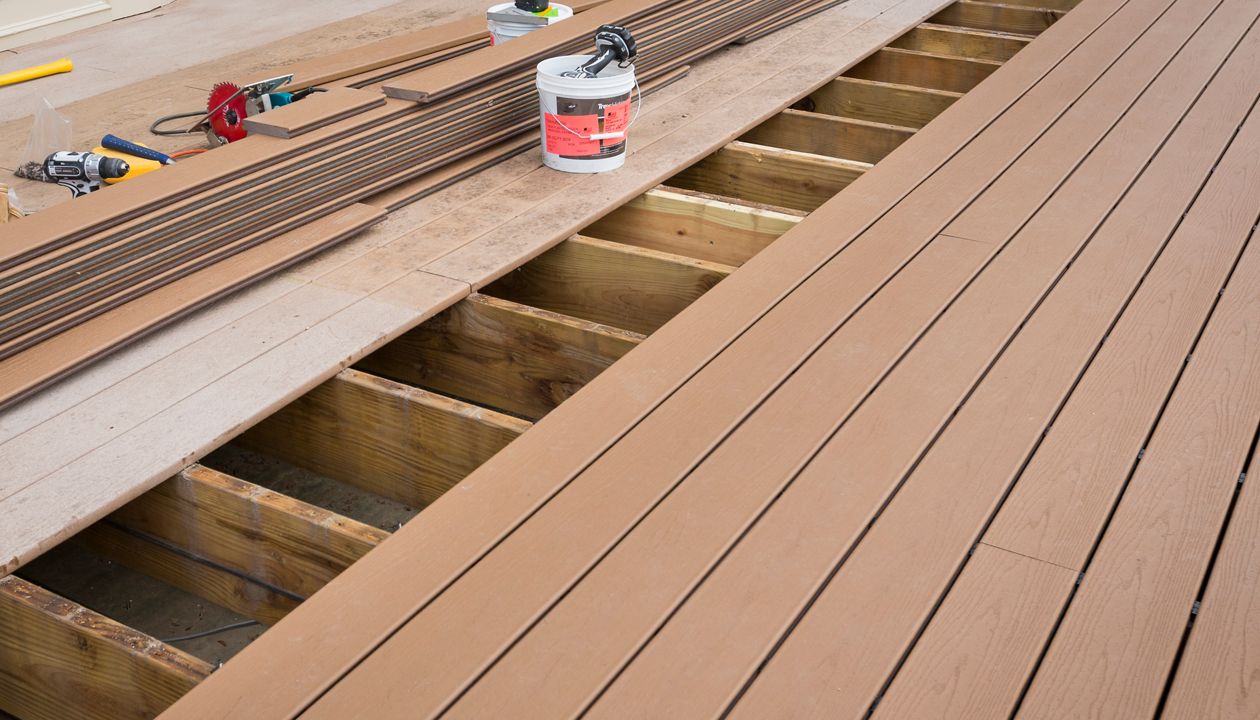
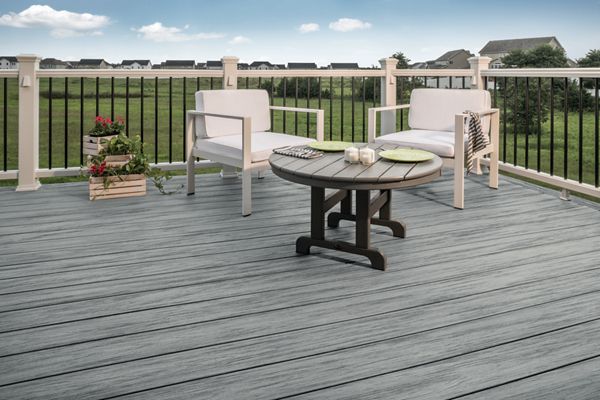
Resurface an Existing Deck
If your boards are worn but the deck's foundation and framing are solid, simply replace them with Trex decking and railing.
Learn How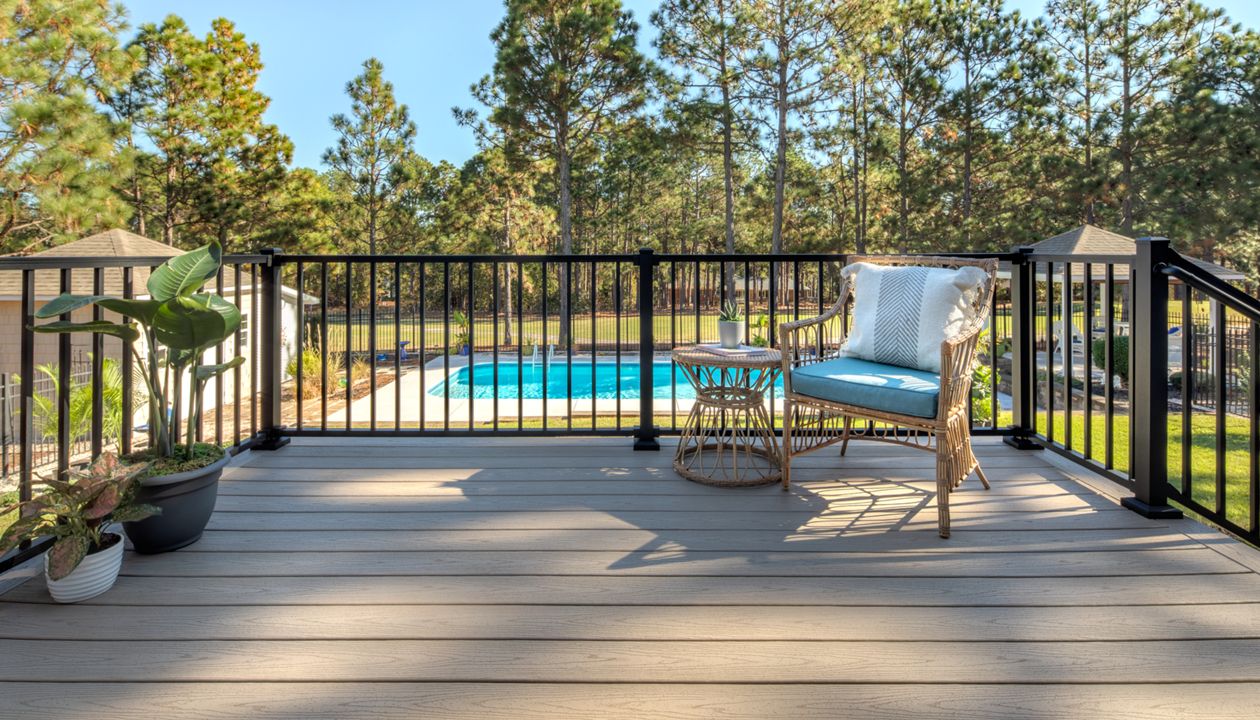
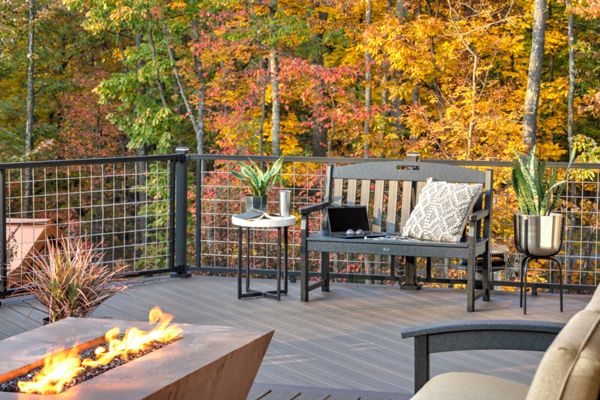
Ideas
From advice to inspiration, explore your next dream deck idea and get expert tips.
Get Inspired

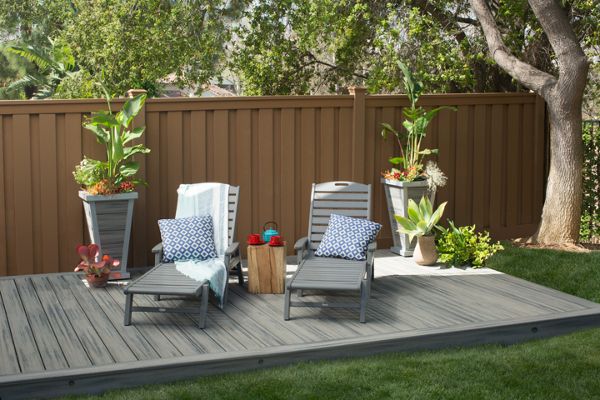
Product Profiles & Measurements
Little details make a big difference when you build your own deck. Check out our product profiles or download our SKU catalog.
Real Decks To Elevate Your Imagination
Share your decking projects with @TrexCompany.
This content was partially or fully generated by AI and has been reviewed by our team to ensure accuracy and relevance.


Copyright © 2026 Trex Company, Inc. All rights reserved.
Photos and videos © 2026 Warner Bros. Discovery, Inc. or its subsidiaries and affiliates. All trademarks are the property of their respective owners. All rights reserved.
- Country
-
Australia
-
Austria
-
Bahrain
-
Brazil
-
Canada
-
Chile
-
Colombia
-
Costa Rica
-
Cyprus
-
Czech Republic
-
Fiji
-
France
-
Germany
-
India
-
Ireland
-
Israel
-
Kuwait
-
Mexico
-
Netherlands
-
New Zealand
-
Norway
-
Oman
-
Qatar
-
Saudi Arabia
-
South Africa
-
Spain
-
Sweden
-
Switzerland
-
Turkey
-
United Arab Emirates
-
United Kingdom
-
United States
-
Venezuela
By choosing your country, you acknowledge that you have read Trex's Privacy Policy